


Metal casting is the process in which molten metal is poured into a mold and allowed to solidify into an object. The object that solidifies is called a casting. Sand casting is defined as pouring of molten metal into a sand mold and allowing it to solidify in the mold. Sand casting is the most widely used metal casting process in manufacturing and almost all casting metals can be sand cast. A few examples of modern items manufactured by the sand casting processes are gears, dies used in the packing industry, cylinder heads, pump housings, and valves. The sand casting process contains six basic steps
While proper equipment and experience is required to produce a casting free of defects, the sand casting process itself is actually quite simple:
1. Create a Mold

The first step is to create the mold for the casting. A sand mold is formed by packing sand into each half of the mold (learn more about types of sand used in sand casting). The sand is packed around the pattern, which is a replica of the external shape of the casting. When the pattern is removed, the cavity that will form the casting remains. The top and bottom halves of the mold are known as the “cope” and “drag”, respectively.
2. Prepare and Clamp the Mold
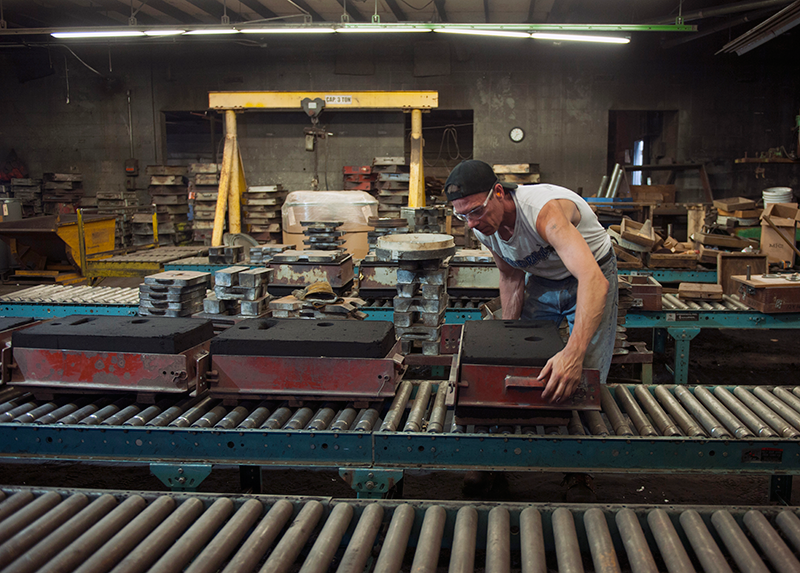
Once the mold has been made, it must be prepared for the molten metal to be poured. The surface of the mold cavity is first lubricated to help with the removal of the casting (the type of lubricant will depend on the type of sand and metal used), then the mold halves are closed and securely clamped together. It is essential the mold halves remain securely closed to prevent the loss of any material. In this photo, “jackets” are used to secure the two halves together.
3. Pour Molten Metal Into Mold
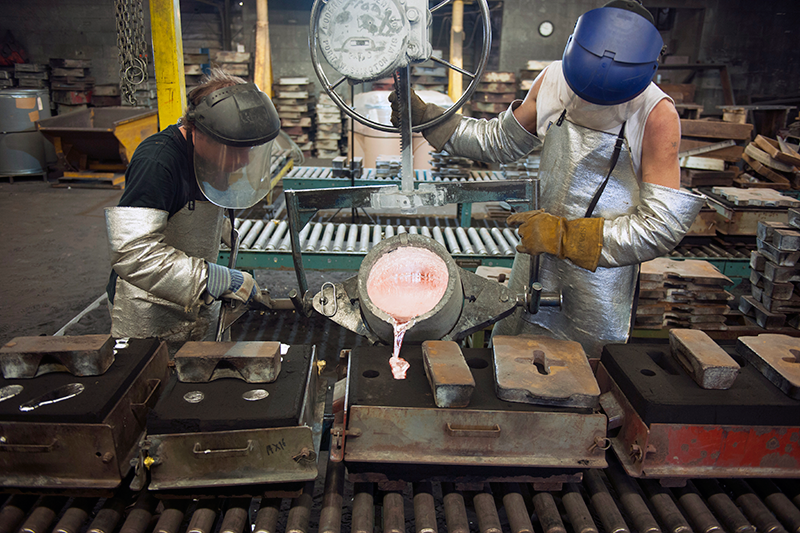
Molten metal is poured into the mold through a gating system, or gap leading from the casting cavity to the outside of the mold. You can see weights and “jackets” on these molds to secure the two halves together. Molten aluminum is being poured into this mold.
4. Allow Metal to Cool

The molten metal that is poured into the mold will begin to cool and solidify once it enters the cavity. When the entire cavity is filled and completes the metal solidification process, the final shape of the casting is formed. The mold can’t be opened until the proper cooling time has elapsed.
5. Remove Hardened Casting from Mold
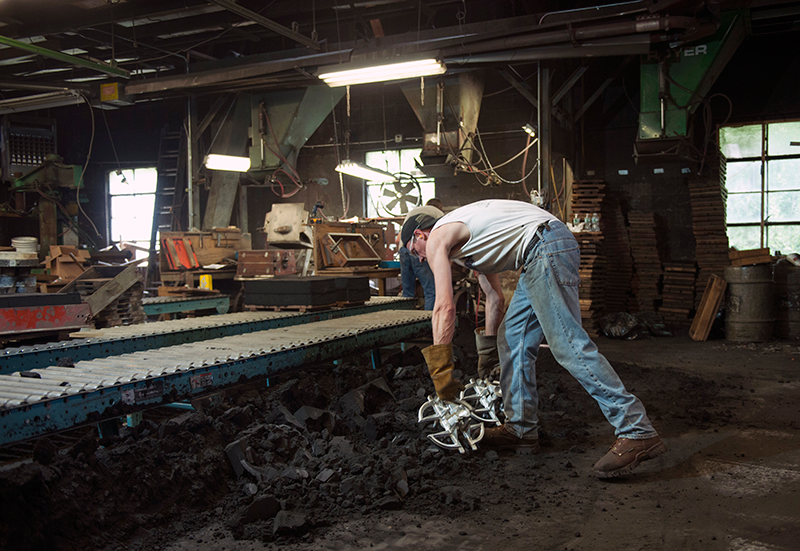
After the solidification time has passed, the sand mold can simply be broken, and the casting removed. This step is typically performed by a vibrating machine that shakes the sand and casting out of the flask. The sand is reconditioned for reuse. Once removed, the casting will likely have some sand and oxide layers stuck to the surface. Shot blasting is sometimes used to remove the remaining sand.
6. Trim Excess Metal from Final Casting
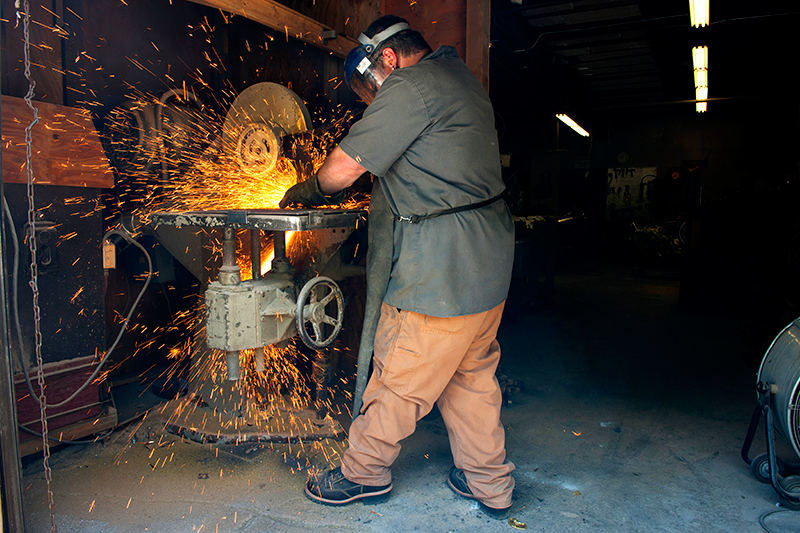
During cooling, the material from the channels in the mold solidifies and attaches itself to the casting. This excess material must be trimmed from the casting either manually or using a trimming press. The time required to trim the excess material depends on the size of the casting. A larger casting will require a longer trimming time. The scrap material that results from the trimming is either discarded or reused in the sand casting process.
7. Polish & Finish Final Product
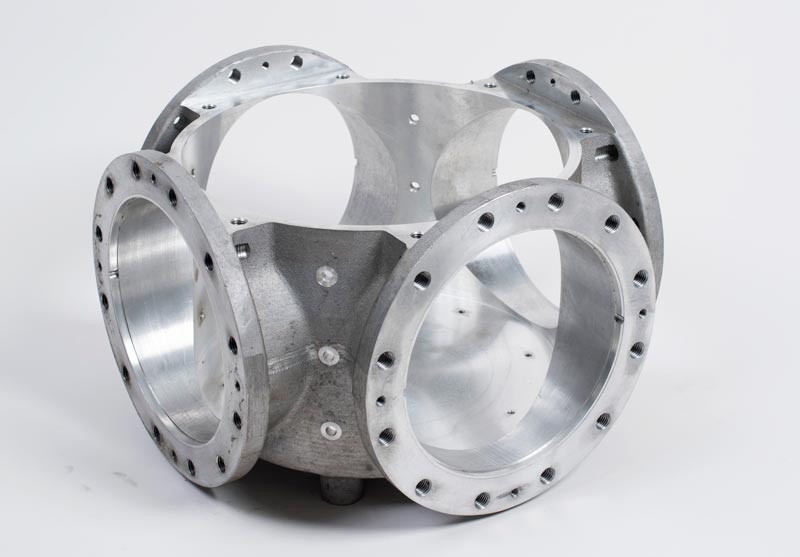
Depending on the intended use of the final product, the casting may be polished or finished to provide a functional surface for its final application. Surface finishes of varying grades can be applied to remove the roughness left on the surface of the casting. Patriot can provide raw castings or castings ready for use like the one shown in the above photo which has been heat treated and machined. Secondary operations such as powder coating and finishing can also be added.